


Table of contents
So, in this blog, I'll discuss how we can create our first React Native App on Windows. I've already discussed what we require for React Native in my previous blog. If you haven't read that here's the link: React Native Installation Setup (Windows)
Now, I'll also be adding all the projects and files in GitHub Repo so you can refer when you need to and here's the link for that: GitHub Repo.
Now, let's start with creating our first React Native App.
Creating a new Application
- First, we need to write a command to initialize a project. So open the terminal and write:
npx react-native@latest init RNProject1
"npx" is Node Package Executor, "react-native" is a utility for downloading and setting up the project, "init" or initialize is the command and "RNProject1" is simply the project name.
This command will take some time in downloading the template, configuring and installing it with initial files and dependencies.
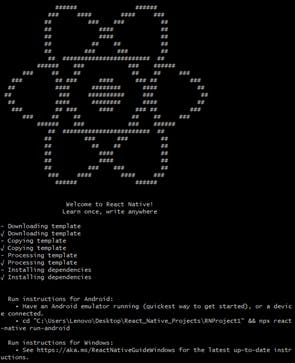
If you'll get this type of output in the terminal then, the project is initialized successfully.
Now, I'll be using VSCode as my text editor. You can use any text editor as per your need. Now, if you open the project folder and inside the "package.json" file, you'll see some scripts:
"scripts": {
    "android": "react-native run-android",
    "ios": "react-native run-ios",
    "lint": "eslint .",
    "start": "react-native start",
    "test": "jest"
  },
In this, "android" and "ios" are used to run the app on Android and iOS simulators or physical devices respectively, "lint" is used for formatting and getting any errors in the app, "start" is used for starting the node server on which you'll get all the logs and other things, and lastly "test" is used for testing the tests that you can write to check the functionality of the app.
If you're starting as a beginner, then only the "android" command is required for now.
Now, if you want to run the app on your Android device, then first you've to enable developer options by clicking on the build number several times. The build number can be found in about phone or in the phone specifications. After that, in "Developer Options", you need to enable "USB Debugging", and "Install via USB".
Running React Native App
- First, we need to run a command inside the project root directory so open any terminal and go to the project root directory and run:
cd Desktop
cd RNProject1
npx react-native run-android
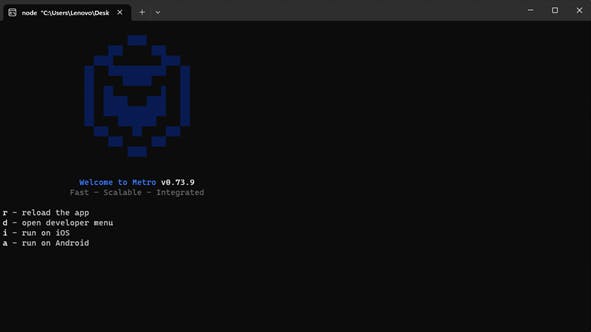
- Now, if everything is good, you'll notice this type of window opens up. This window is known as "metro" which just bundles all the files into a single file and transfers it into an app that will run on our device.
- Now, if everything is fine, after some time, you'll see something like this:
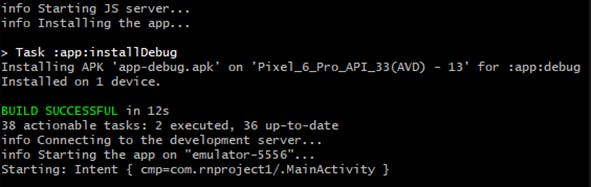
- This means the build is successful and you can see the app running on your physical device or in my case, in an emulator:
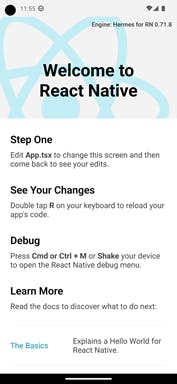
- Now, the app is successfully running on a device or emulator.
Conclusion
So, in this section, we've discussed how to create our first React Native app and run it on our devices. I hope you find it informative and I'll see you in my next blog. Happy coding.